Renovating a Boston Brownstone: Your Complete Guide
A brownstone can be an absolute dream to live in but they can come with outdated features and quirky layouts. The good news is thousands of people have successfully renovated Boston brownstones before. With the right information, realistic expectations, and a good team, you can transform your historic gem into a home that's both beautiful and functional for how you live today. So if you're excited about the tall ceilings, original details, and neighborhood charm but want a home that works just the way you need it to, you’ve come to the right place.
This (very comprehensive) guide will walk you through everything you need to know, from understanding the building, handing over the keys to your contractor, and moving into your renovated home. We hope you’ll use this as your roadmap to a successful brownstone renovation.
Chapter #1: Understanding Your Brownstone
Chapter #2: Before You Start
Chapter #3: Planning Your Renovation
Chapter #4: Building Your Team
Chapter #5: The Renovation Process
Chapter #6: Common Challenges and Solutions
Chapter #7: The Final Stretch
Chapter 1: Understanding Your Brownstone
Before you start demolition, let’s take time to really understand your building.
What Exactly Is a Brownstone?
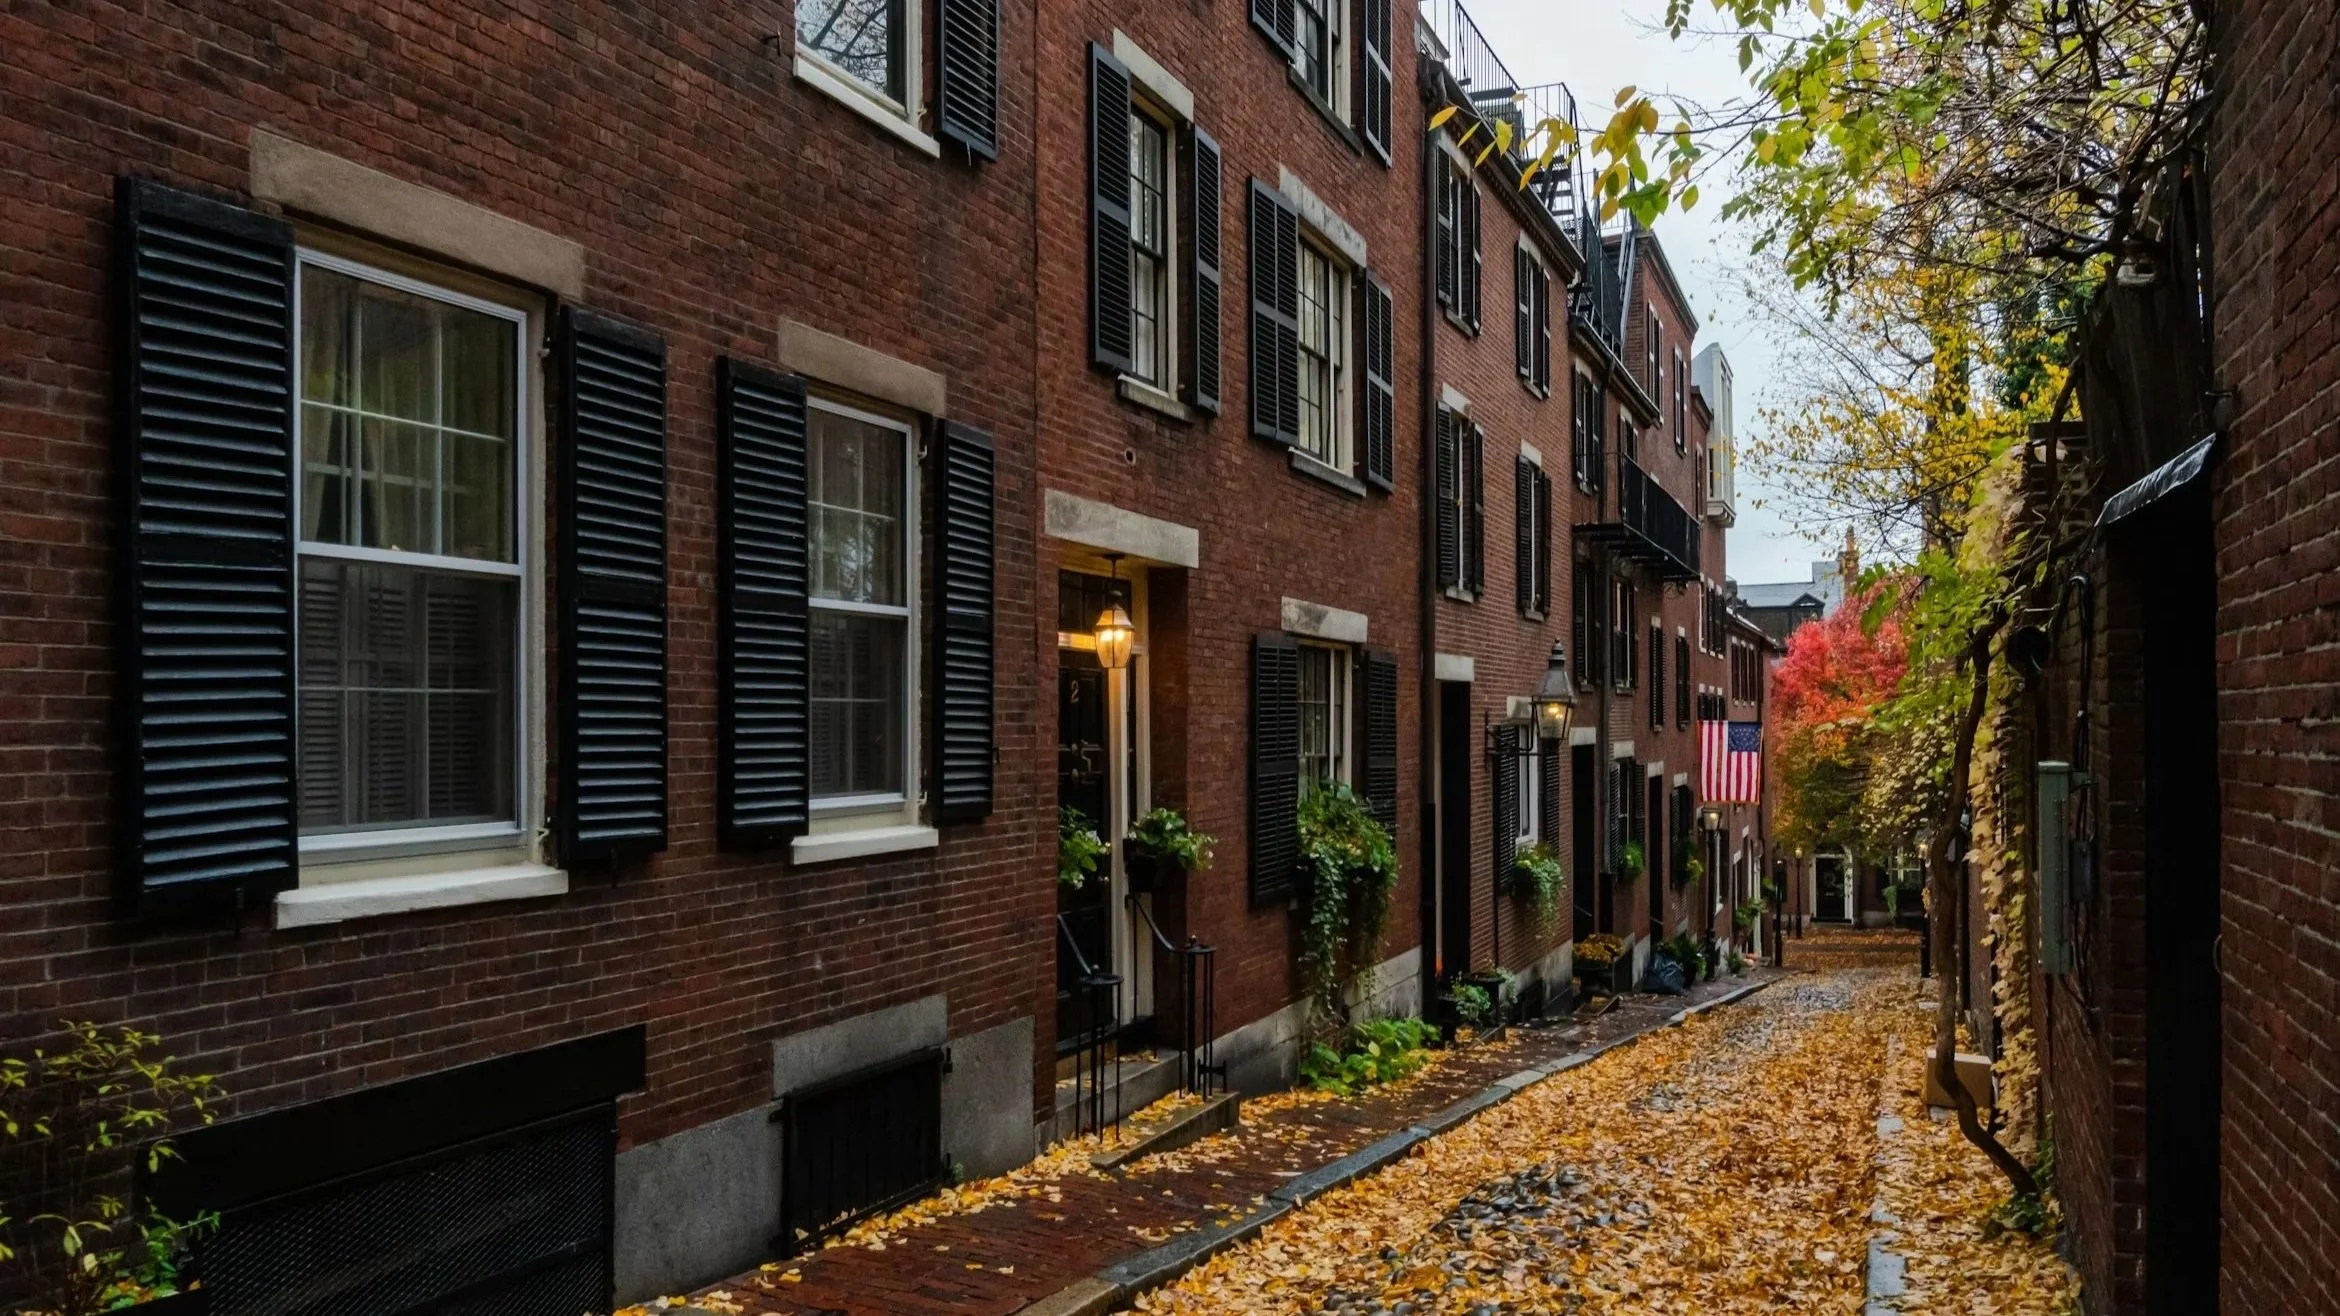
Technically, a brownstone is a rowhouse clad in brown sandstone. In Boston, we often use the term more loosely to describe brick or stone rowhouses built in the mid-to-late 1800s, whether or not they're actually faced in brownstone.
Most Boston brownstones were built between 1840 and 1900 during the city's major expansion. They range from modest three-story buildings to grand six-story townhouses. Some common features include high ceilings on the main floors, tall windows, ornate plasterwork, wood floors, fireplaces in most rooms, and front stoops with iron railings.
How They Were Originally Used
Brownstones were built as single-family homes for Boston's growing middle and upper-middle class. The layout reflected Victorian social structures:
Parlor floor (one flight up from street level): Formal entertaining spaces. Double parlors, dining room. The finest finishes and details.
Garden level (ground floor): Originally service areas with separate entrances, a kitchen, pantries, and extra storage.
Upper floors: Private family bedrooms. Simpler finishes than public rooms.
Basement: Additional storage, coal storage, mechanical systems.
This hierarchy (especially the kitchen location) explains why layouts often feel awkward for modern living. You're trying to fit contemporary life into a Victorian social structure. Understanding what's original versus what's been added helps you make informed decisions about what to keep, restore, or change.
Chapter 2: Before You Start
Get a Professional Assessment
Before planning your renovation, hire professionals to assess your building's condition.
Home Inspector: Get a thorough inspection covering structure, systems, roof, foundation, and all major components. This will reveal issues you'll need to address.
Structural Engineer: For buildings showing signs of settlement, cracks, or structural concerns, have an engineer evaluate. Structural work is expensive but non-negotiable if needed.
Architect (if major changes are planned): For significant renovations, bring in an architect experienced with historic Boston buildings early. They can help you understand what's possible and what challenges you'll face.
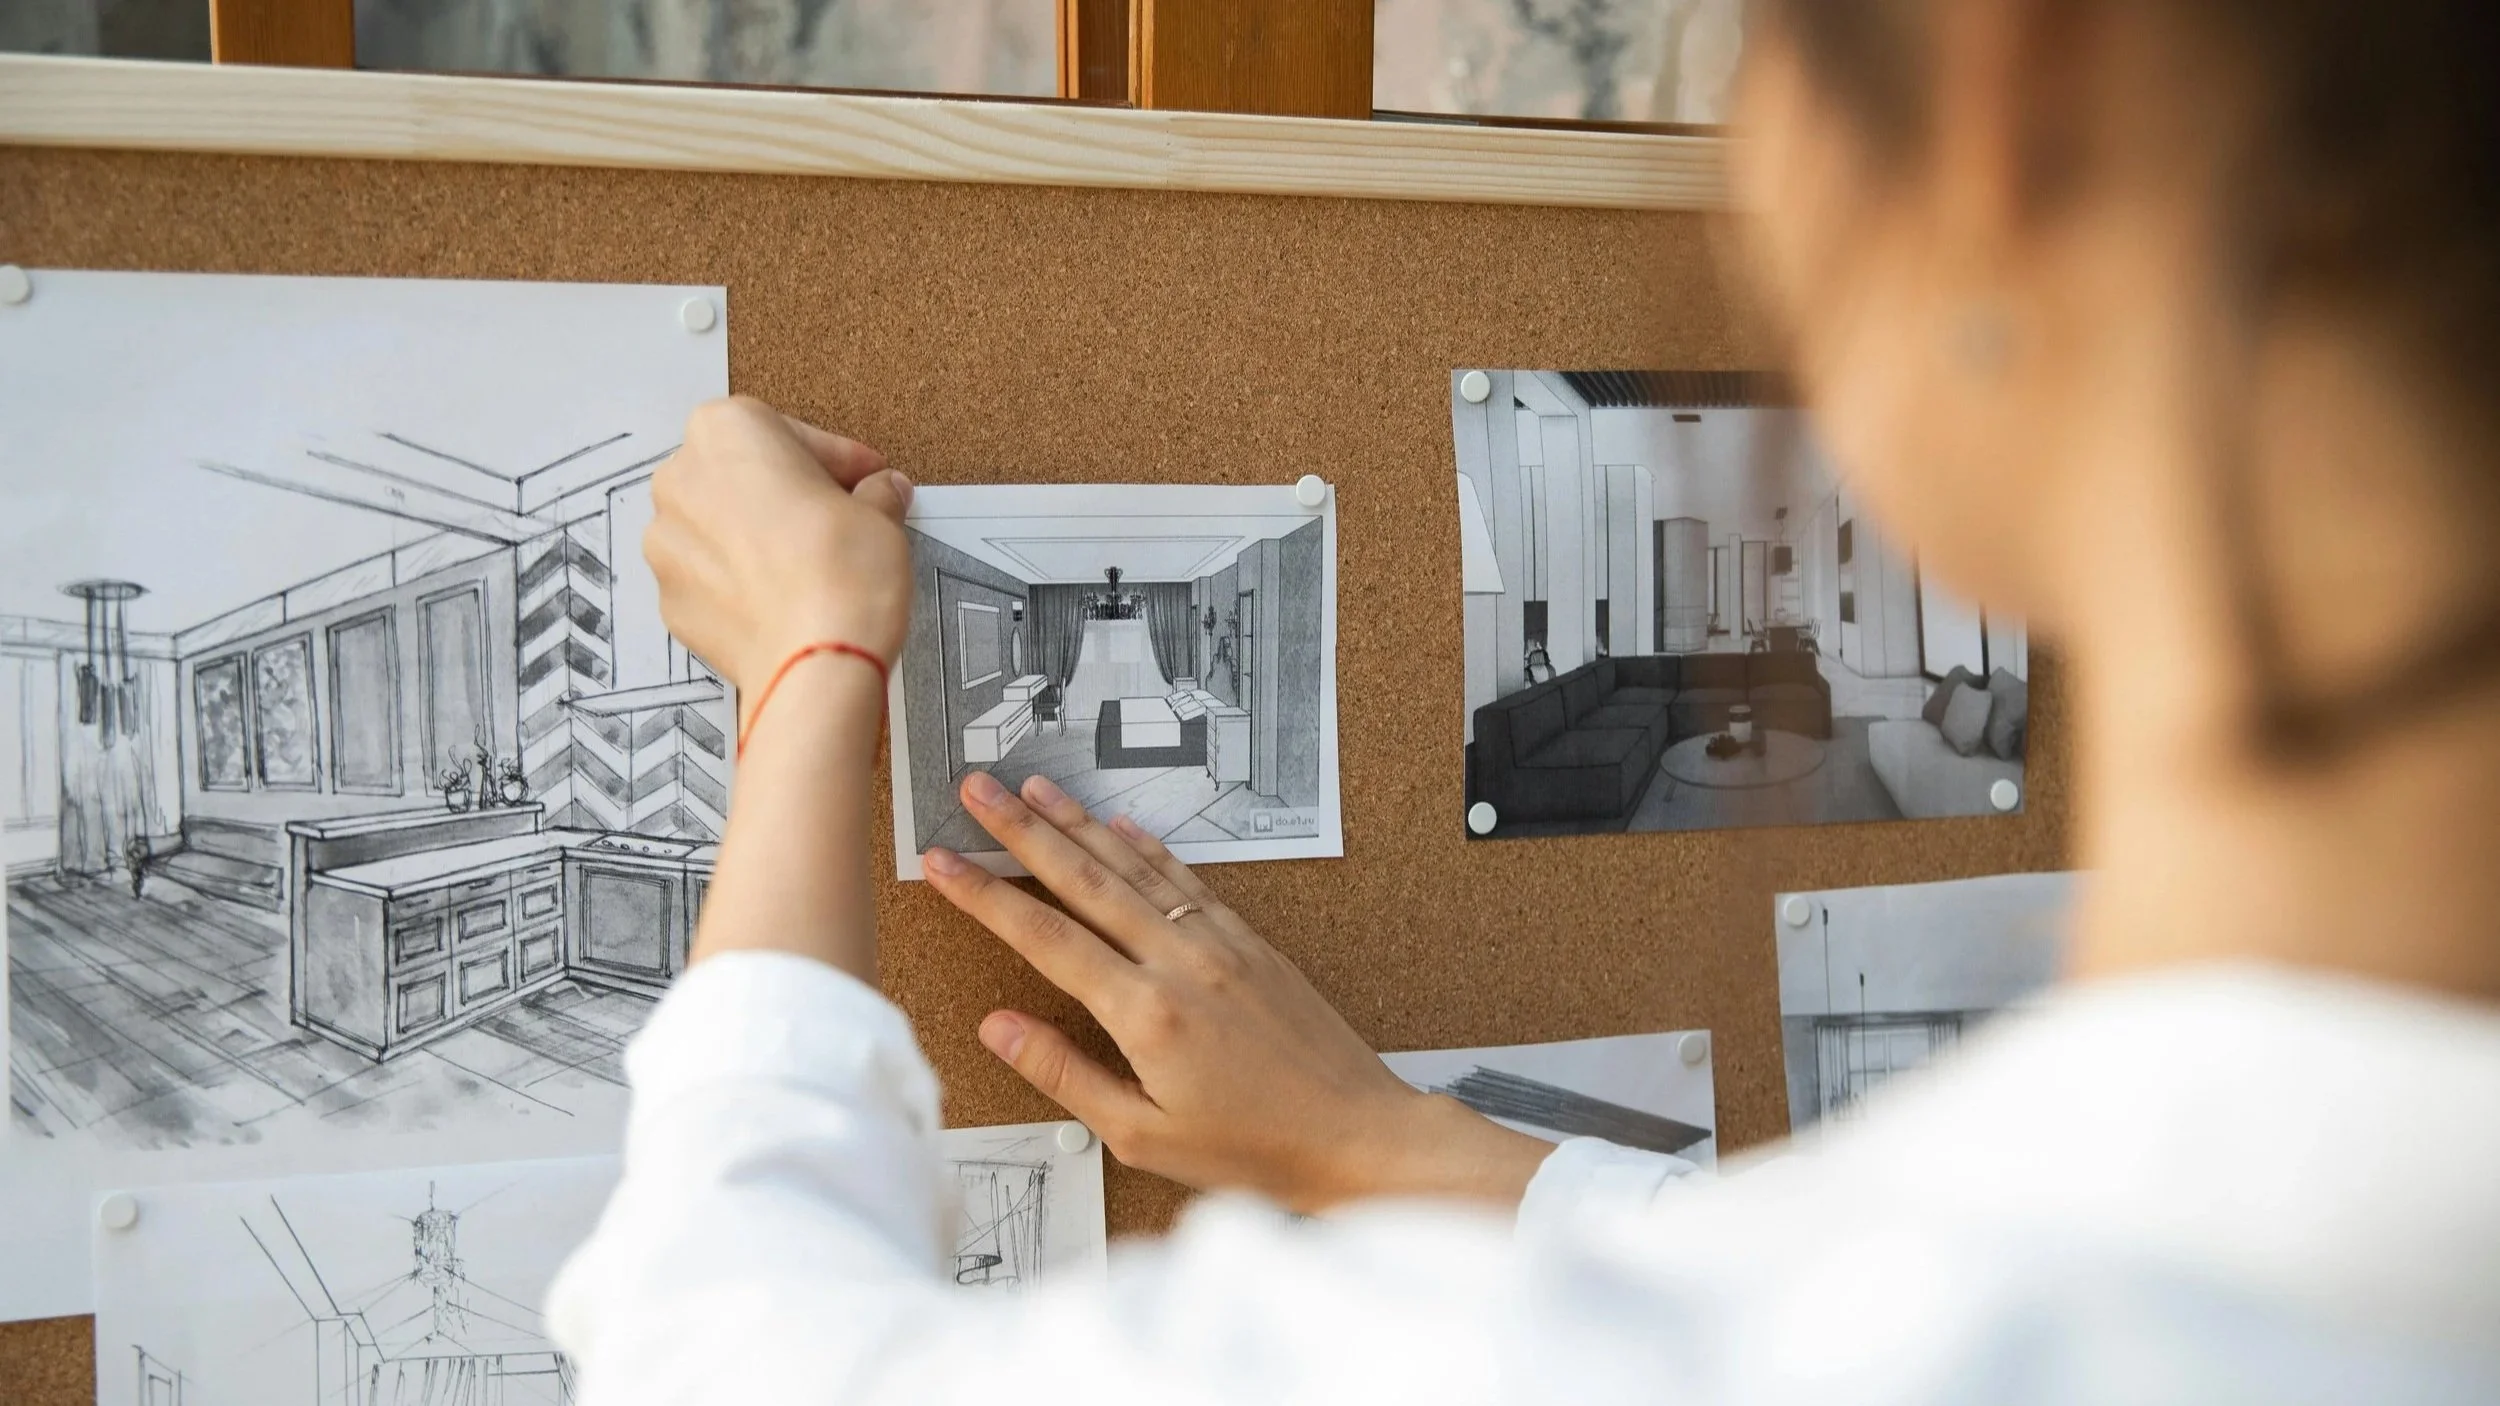
Interior Designer: Even before you finalize your renovation plans, a designer can help you think through how you want to live in the space and what changes make sense. We often catch things architects and contractors miss because we're thinking about daily functionality specifically for how you live.
These assessments cost money upfront but save you from expensive surprises later.
Understand Zoning and Historic District Rules
Check your zoning: Confirm what's allowed on your property. Can you add a roof deck? Finish the basement as living space? Create a rental unit? Boston zoning is complex and varies by neighborhood.
Determine if you're in a historic district: Back Bay, Beacon Hill, and parts of South End have local historic district protections. If you're in one, exterior changes will require approval from the local historic commission.
What typically requires approval:
Changes to front facade (windows, doors, paint colors)
Roof work visible from public streets
Additions
Front railings and stoops
Sometimes rear facades if they will be visible from public ways
What typically doesn't:
Interior renovations (unless the building itself is landmarked)
Mechanical systems
Most back-of-building work not visible from street
Understanding requirements before you plan saves you from designing something you can't actually build.
Step 3: Define Your Goals and Priorities
Get crystal clear on what you want from this renovation by asking yourself the following.
How long do you plan to live here? If this is your forever home, design for your long-term needs. If it's a 5-year home, consider the resale implications.
What's non-negotiable? What must this renovation accomplish? Modern kitchen with a better layout? More bathrooms? A Primary suite? Home office?
What's driving you crazy about the current space? The problems you're trying to solve should guide the renovation scope.
What do you love about the building? What original features or characteristics must be preserved?
How do we actually live? Be honest about your lifestyle. Do you entertain? Work from home? Have kids? Want a dog? Need a home gym? The renovation should support how you actually live, not some idealized version.
What's our realistic budget? More on this below, but know your number and stick to it.
Write down your goals and rank them. This clarity will help when you inevitably face decisions and trade-offs.
Step 4: Set a Realistic Budget
Unsurprisingly, brownstone renovations are expensive. What might surprise you is just how much they can cost.
Rough Cost Ranges (Boston area, 2024-2025):
Light renovation (cosmetic updates, no major systems or structural work): $150,000 to $400,000 for a typical 2,000-2,500 sq ft brownstone
Moderate renovation (new kitchen and baths, some layout changes, system updates): $400,000 to $800,000
Extensive renovation (major reconfiguration, all new systems, high-end finishes): $800,000 to $1,500,000+
Gut renovation (down to studs, complete rebuild of the interior): $1,500,000 to $2,250,000+
These ranges reflect quality work with experienced contractors and proper handling of these historic homes. Every project is different, and we work with clients at various investment levels.
Remember you're working with:
Historic building challenges
Dense urban environment (logistics are harder)
High Boston labor costs
Need for specialists (historic restoration, complicated systems)
Surprises once you open the walls up
Build your budget:
Construction costs: 50-70% of total Design fees (architect, designer): 15-20% of total Permits and approvals: 2-5% of total Materials and furnishings: 10-20% of total Contingency: 20-30% of construction costs
Yes, you need a big contingency because old buildings hide problems.
Whatever your budget, be realistic and honest with your team about what you can spend.

Chapter 3: Planning Your Renovation
Deciding What to Change (and What to Keep)
This is the central challenge: modernizing while preserving character.
If Possible, Preserve or Reuse:
Original plaster moldings and medallions
Historic staircases
Mantels and fireplaces
Original doors and hardware
Hardwood floors
Significant architectural details
If Possible, Update:
Electrical systems
Plumbing
Heating and cooling
Kitchens (unless recently renovated)
Bathrooms (functionality and safety)
Insulation (or lack thereof)
Windows (for energy efficiency, keeping original appearance)
Evaluate Case by Case:
Layout and walls (keep if functional, change if not)
Later additions
Non-original features
Basements and attics (usually flexible for renovation)
Common Layout Changes
Opening the Kitchen:
Move kitchen to parlor floor and connect to the dining area
Open walls between kitchen and adjacent rooms (cased opening can be very charming)
Add skylights or light wells for natural light
Expand into adjacent spaces
Adding Bathrooms: Going from one or two bathrooms to three or four (or more) requires planning:
Stack bathrooms vertically to share plumbing
Convert closets or small bedrooms
Look for unused or awkward spaces
Plan drainage carefully (especially above finished spaces)
Creating a Primary Suite: Many brownstones lack proper primary suites:
Combine two smaller bedrooms
Add ensuite bathroom
Include walk-in closet if space allows
For modern living, this is typically placed right above the parlor level
Dealing with the Basement: Basements can have:
Family rooms, media rooms, or home gyms
Guest suites (if ceiling height and egress allow)
Storage and mechanicals (sometimes the best use)
Check zoning for what's allowed in basements as not all can be legal living space.
Finishing the Attic: If you have good ceiling height and proper egress:
Bedrooms
Home offices
Primary suite
Kids' playrooms
Attic conversions require structural evaluation (can the floors support it?) and proper egress (windows or stairs).
Kitchen and Bathroom Planning
You'll spend a lot of your budget in these rooms, so plan carefully.
Kitchen Priorities:
Size and layout that works for how you cook
Adequate storage (think of all your glassware, small appliances, etc.)
Island if the space allows
Quality appliances
Durable materials
Proper lighting
Connection to dining or family space
Bathroom Priorities:
Adequate number (at least 2.5 for a family with the powder room closest to the parlor level rooms)
Primary bath that's a retreat
Good storage
Proper ventilation
Double vanities in primary bath (strongly recommended)
Walk-in showers (tubs are less essential for most people)
Don't skimp on these spaces. They're used daily and significantly impact resale value.
Systems and Infrastructure
This is the unsexy but essential stuff.
Electrical:
Remove all knob-and-tube wiring
Upgrade to modern panel with adequate capacity
Add outlets (brownstones never have enough)
Plan for modernized lighting throughout
Include dedicated circuits for appliances
Plumbing:
Replace old galvanized or lead pipes
Upgrade water pressure if needed
Install new fixtures
Ensure proper drainage
Consider water filtration
Plan for future maintenance access
HVAC: Most brownstones have forced hot water radiators. Options:
Keep and upgrade radiators (works but takes up space)
Install central forced air (requires ductwork, challenging in brownstones)
Mini-split heat pumps (efficient, no ductwork, but units visible in rooms depending on the ceiling heights)
Hybrid approach (keep radiators for heat, add mini-splits for AC)
Insulation: Historic brownstones are drafty. Add insulation wherever possible without damaging historic features. Focus on:
Attic (huge impact)
Basement ceiling
Rim joists
Behind radiators (carefully)
Chapter 4: Building Your Team
You can't (and shouldn’t) do this alone. Here's who you need.
The Architect
When you need one:
Major structural changes
Additions
Complex layout modifications
Historic district projects
Any time you need stamped drawings
What they do:
Create design plans and elevations
Navigate permitting and approvals
Work with engineers on structural elements
Coordinate with other design professionals
Finding the right architect:
Look for experience with Boston brownstones
Check they're familiar with historic approvals if relevant
Review their portfolio for similar projects
Ensure their aesthetic sensibility aligns with yours
The Interior Designer
When you need one: For any significant renovation. Seriously. Even if you have an architect.
What we do:
Plan interior layout of your home for how you'll actually live
Select all finishes, fixtures, and materials
Design kitchens and bathrooms in detail
Create lighting plans
Coordinate with contractors
Source and procure furnishings
Manage the design process
Style and install final spaces
Why you need both architect and designer: Architects focus on structure and building systems. Designers focus on how spaces function and look. Both are essential for great seamless results.
Finding the right designer:
Check they offer the level of service you need (full-service vs. consultation)
Ensure they have brownstone experience
Evaluate communication style and personality fit
The General Contractor
What they do:
Manage all construction work
Hire and coordinate subcontractors
Pull permits
Order materials
Ensure work meets code
Handle day-to-day problem solving
Keep project on schedule and budget
Finding the right contractor:
Get referrals from architect, interior designer, or past clients
Check that they're licensed and insured
Verify experience with historic buildings
Review past brownstone projects
Check references thoroughly
Red flags:
Significantly lower bid than others (corners will be cut)
Vague contracts or unclear scope
Pressure to start before everything's planned
Poor communication during bidding process
Can't provide references
Specialists You Might Need
Structural Engineer: For foundation issues, significant structural changes, or when architect requires.
Landscape Architect: If you're doing significant garden or outdoor work.
Mechanical Engineer: For complicated HVAC or plumbing systems.
Chapter 5: The Renovation Process
Timeline Expectations
Design and Planning: 2-6 months Longer if you're working through big decisions or need historic approvals.
Permitting: 1-4 months Boston permitting is slow. Historic district approvals add time.
Construction:
Light renovation: 3-6 months
Moderate renovation: 6-12 months
Extensive/gut renovation: 12-18+ months
Add 20-30% to any timeline estimate as things always take longer than expected. Scheduling subs requires flexibility and materials can be backordered.
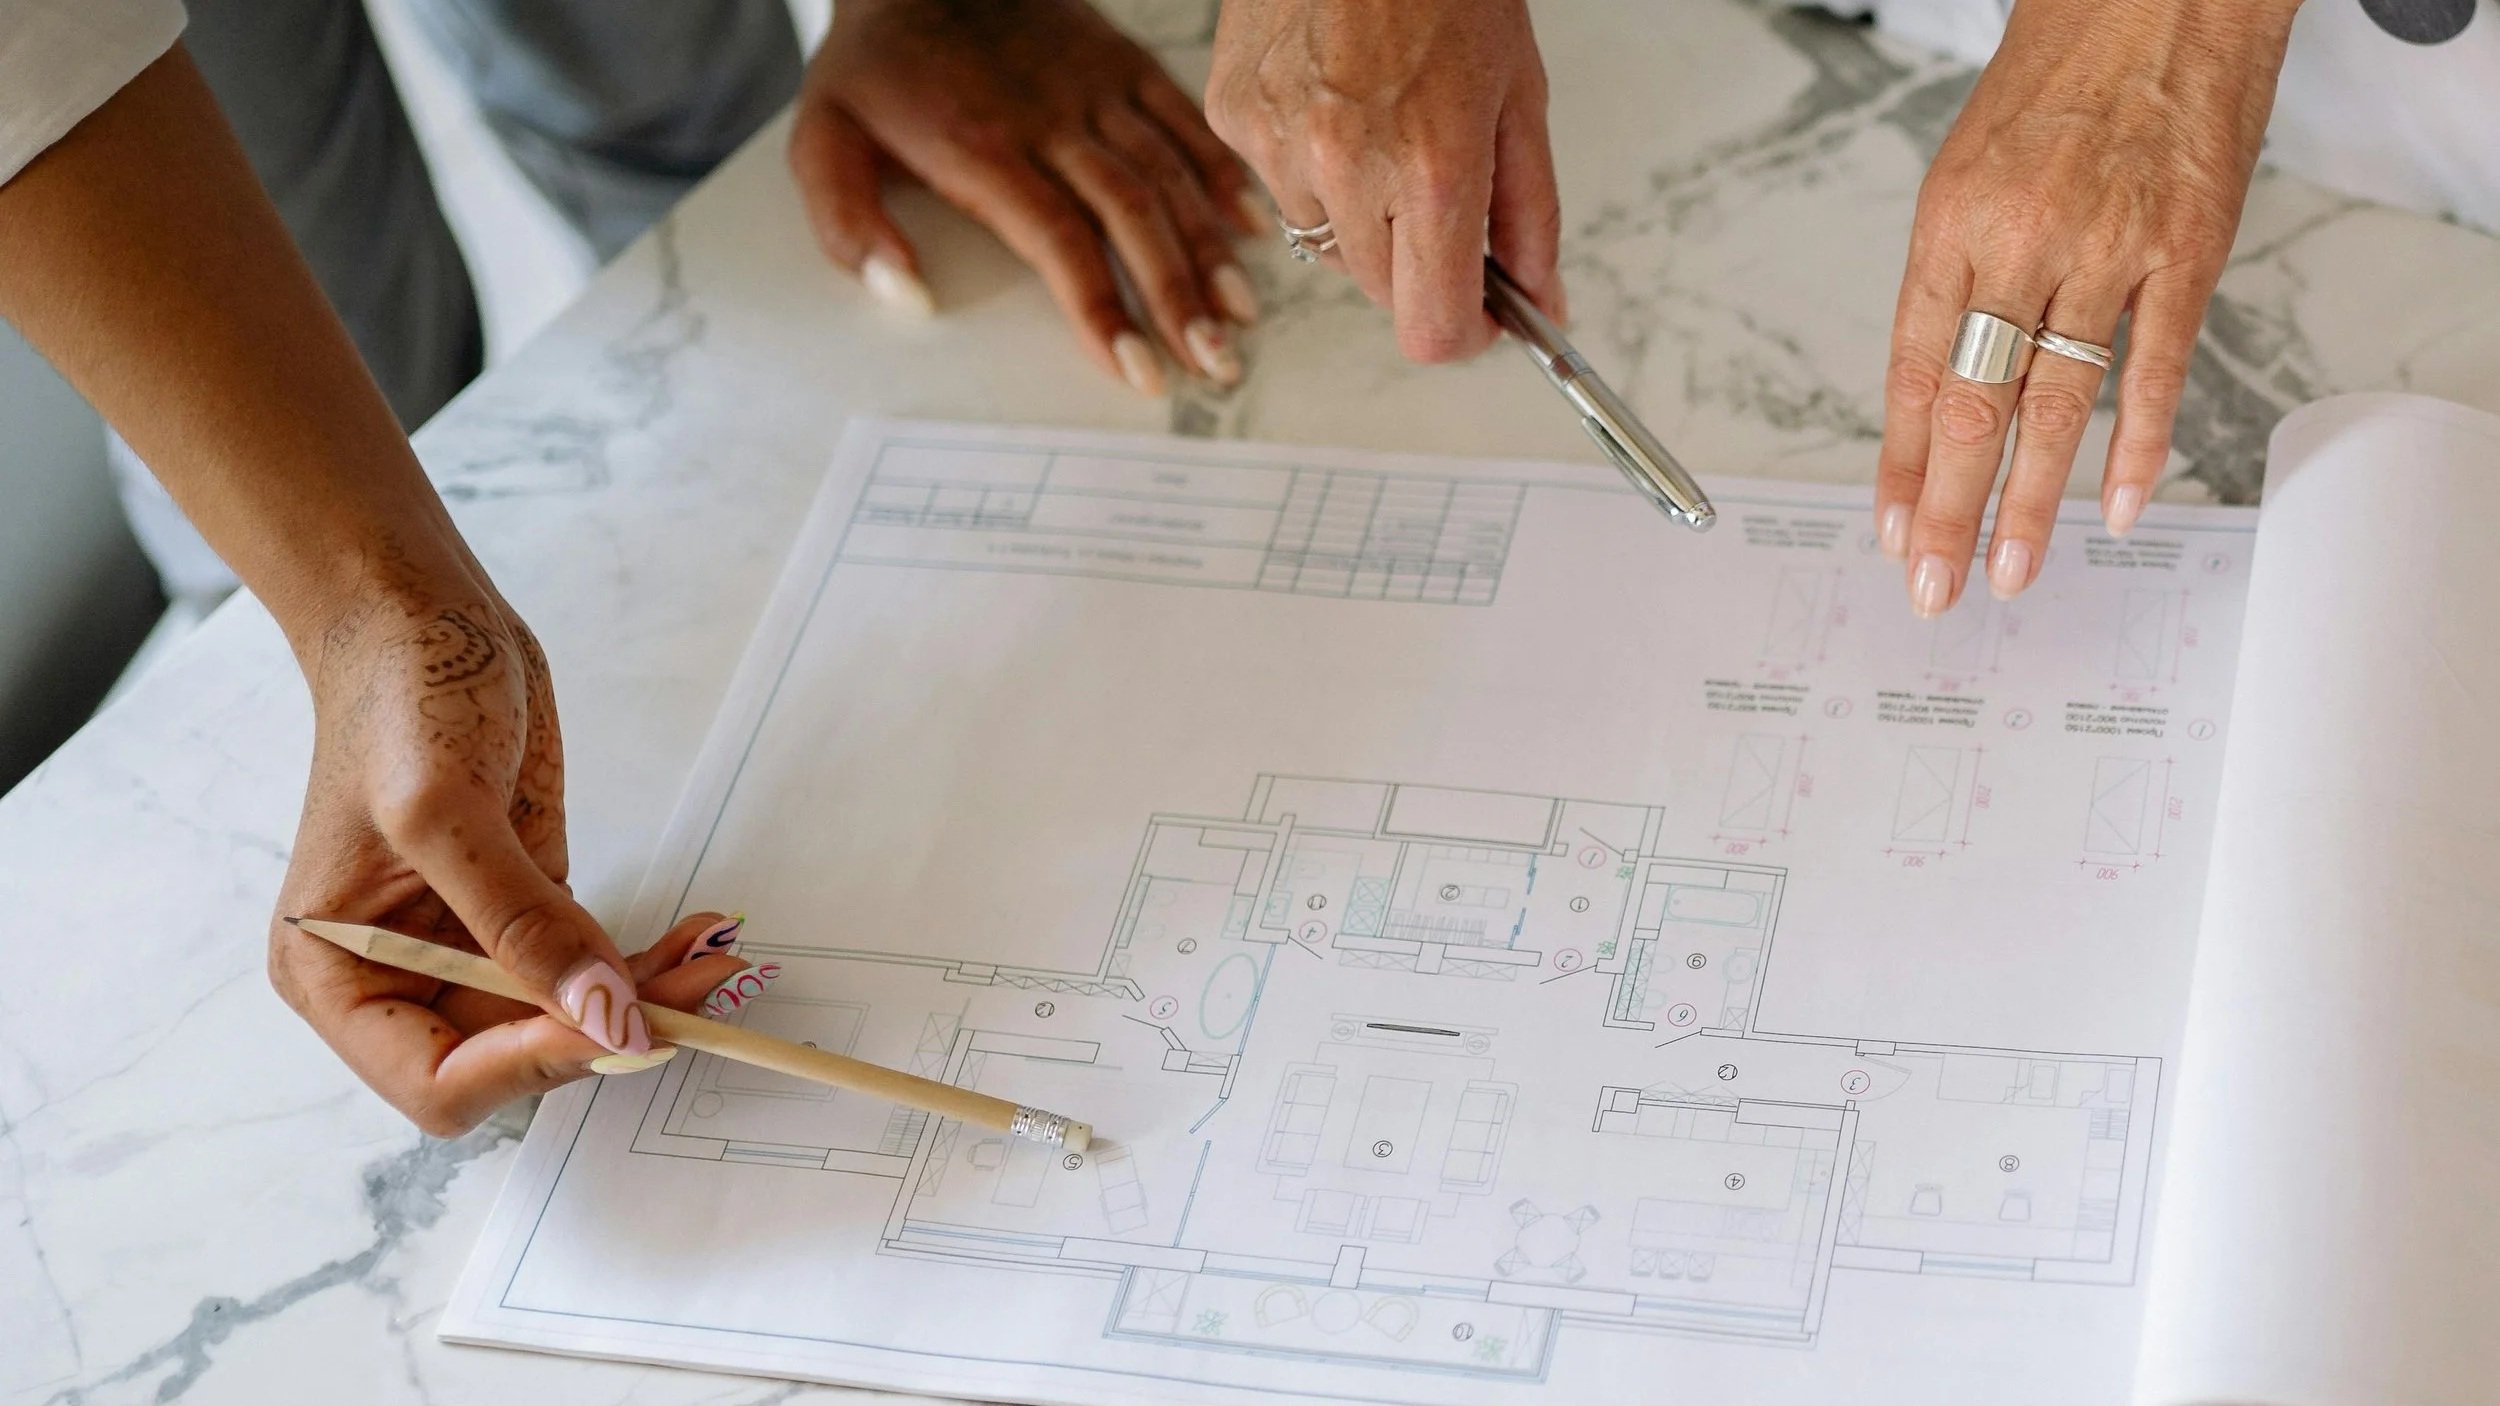
The Design Phase
You'll work with your architect and designer to create complete plans before construction starts.
What gets designed:
Floor plans with all layout changes and furniture arrangements
Elevations showing built-ins and millwork
Kitchen and bathroom designs in detail
Lighting and electrical plans
Specifications for all materials and finishes
Details for any custom work
Your role:
Review and provide feedback
Make selections and decisions
Ask questions
Approve designs before moving forward
We recommend you take your time during this phase. Changes on paper are cheaper than during construction.
Permits and Approvals
Your architect or contractor would handle the permit applications but it is still important that you understand the process.
Typical permits needed:
Building permit (for structural, layout, major systems)
Electrical permit
Plumbing permit
Gas permit if applicable
Boston permitting quirks:
Can be slow (build time into schedule)
May require multiple inspections
Code requirements are strict
Zoning issues can surprise you
Historic district approval: If required, this happens before or alongside building permits. Your architect would present the plans to the commission but you should be prepared to possibly attend the hearing.
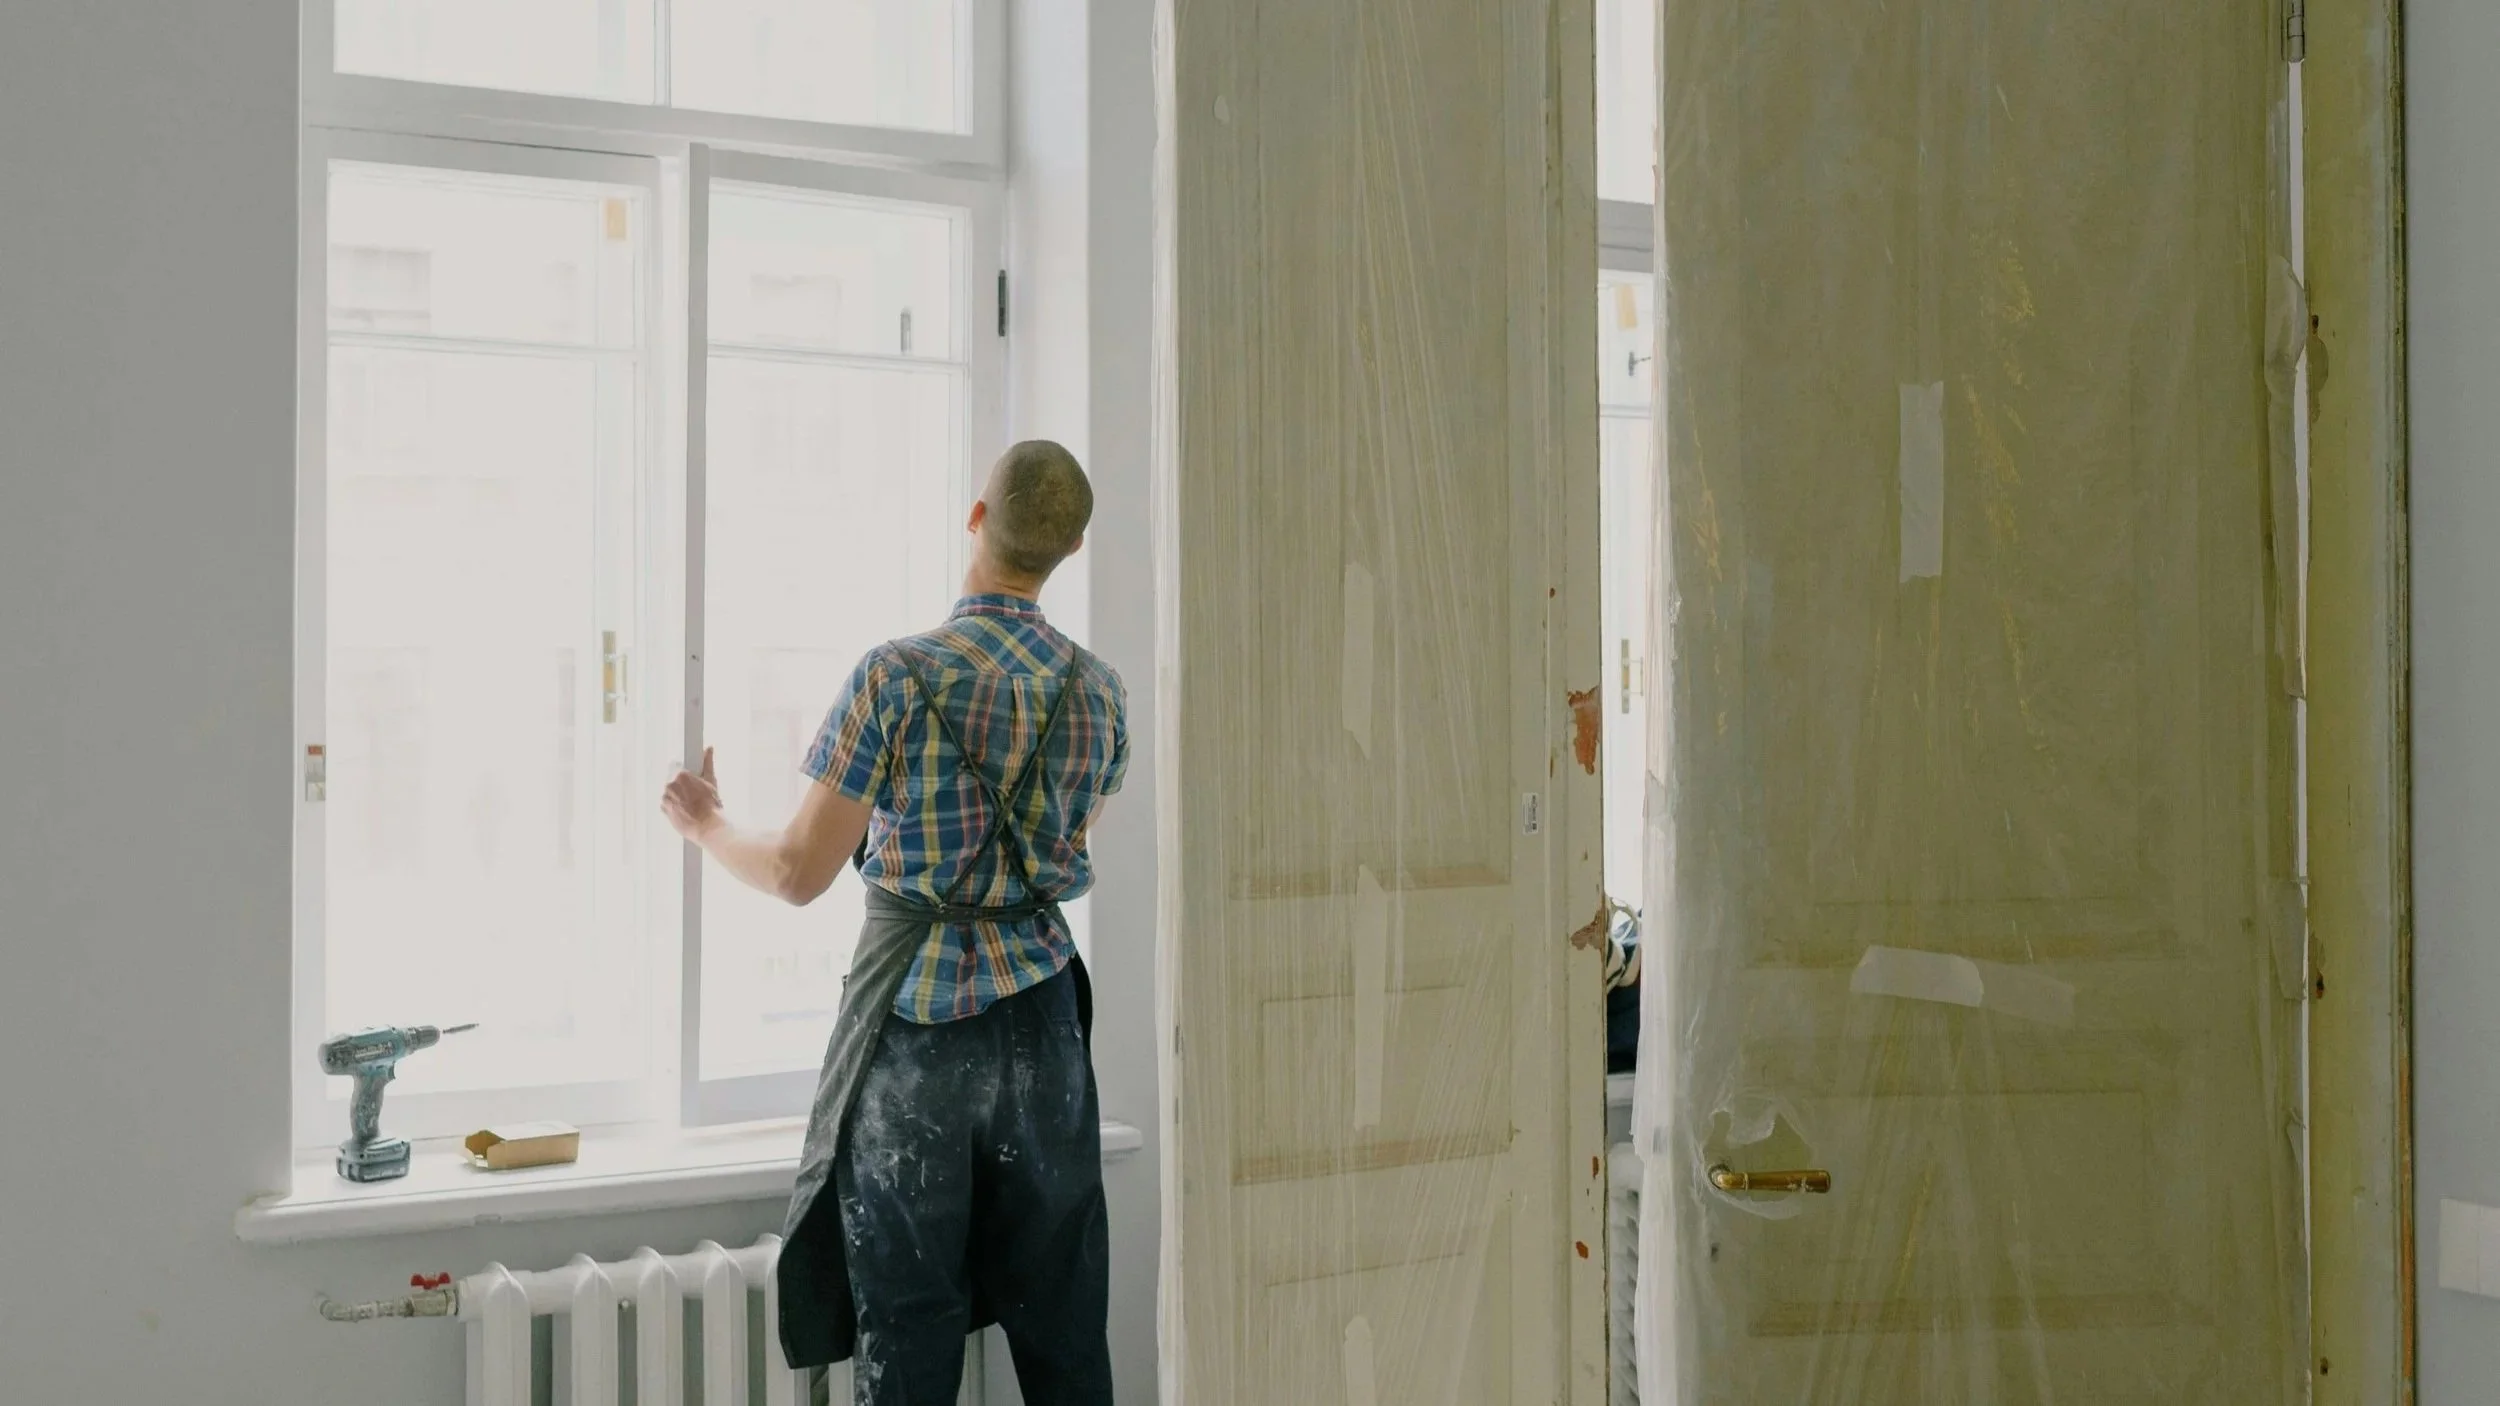
Construction Begins
Weeks 1-3: Demolition Out goes the old. This is phase is both exciting and terrifying. You'll see your home torn apart and wonder if you've made a huge mistake. This is normal. This phase might take a little longer if you plan to salvage some original features of the home (doors, hardware, fireplace mantles, etc.)
Weeks 3-8: Rough-In New framing, structural work, rough electrical, plumbing, and HVAC installation. This phase will look like chaos but it's actually progress.
Month 2+: Systems and Finishes This is the longest phase of the renovation process. You’ll see things like electrical and plumbing finished, walls closed, surfaces applied, and fixtures installed. This is where you'll see it start to look like a home again. You or your architect/designer should visit the site often to make sure every detail is being captured as intended. Prepare for many site meetings as this phase goes on.
Final Weeks: Punch List Addressing all the little things that aren't quite right. This phase seems like it should be fast but often drags.
Managing the Process
Weekly check-ins: With your contractor and designer to review progress and address issues.
Site visits: Your designer should visit regularly. You can too, but should coordinate with your contractor.
Decision-making: Questions will arise constantly. Respond promptly so work doesn't stall.
Budget tracking: Stay on top of costs. Address overruns immediately.
Change orders: If you want to change something, get it in writing with cost and timeline implications.
Document everything: Take photos throughout. Keep all contracts, invoices, and warranties organized.
Chapter 6: Common Challenges and Solutions
Challenge: Discovery of Major Issues
When you open walls, you might find rotted joists, extensive water damage, outdated wiring, or worse structural problems.
Solution: This is why you should have a contingency fund in order to address these issues. Work with your contractor and architect to prioritize and find cost-effective solutions.
Challenge: Budget Overruns
When costs exceed estimates due to unforeseen issues or scope creep.
Solution: Review where you can cut back, and choose cost effective finishes in less important areas.
Challenge: Timeline Delays
Projects always take longer than expected due to permits, material delays, contractor scheduling, or surprises. Our rule of thumb is to expect two days of catch up for every day of delay.
Solution: Build buffer time into your expectations from the start and stay flexible. Keep communicating with your team but focus on quality over speed.
Challenge: Design Regrets
You see something installed and realize you don't like it.
Solution: Speak to your architect or designer about this. Sometimes, a design feature may have to be reexplained in detail for clarity. If it's installed and wrong, determine if you can live with it or if it must be changed. Think through all potential implications before authorizing a change. Changes are expensive, and especially when they have ramifications not considered.
Challenge: Contractor Issues
Work quality concerns, poor communication, or scheduling problems.
Solution: Address issues immediately and directly. Document concerns and if problems persist, involve your architect or designer to mediate. In severe cases, you may need to fire the contractor (but review your contract first).
Challenge: Neighbor Complaints
Noise, dust, parking, or other issues can upset neighbors.
Solution: Be proactive and inform your neighbors before the work starts. Consider goodwill gestures like coffee gift cards, and advance warning of especially disruptive work. Keep them updated and address concerns promptly. Make sure your renovation schedule follows noise ordinances.

Chapter 7: The Final Stretch
Punch List
As your home gets towards the finish line, create a list of everything that's not quite right, or not finished.
Common punch list items:
Paint touch-ups
Fixing scratched floors
Adjusting doors that don't close properly
Addressing loose hardware
Final caulking and sealing
Cleaning fixtures
Fixing minor defects
Walk through with your contractor and designer to create the punch list.
Final Inspections
The city needs to inspect and approve your work before you're done and can move in.
Typical inspections:
Building inspection
Electrical inspection
Plumbing inspection
Certificate of occupancy (if applicable)
Your contractor handles scheduling these, but be prepared for potential re-inspections if things don't pass the first time.
Move-In Preparation
Before you move in:
Final cleaning (hire professionals)
Change locks
Set up utilities in your name
Test all systems
Familiarize yourself with your new appliances and equipment
Organize warranty information
Furniture and Styling
If you worked with an interior designer on full-service design, they will handle this. If not:
Furniture ordering should have happened months ago. Lead times are long, and items get backordered so order these early.
Installation and styling: Your interior designer will coordinate deliveries with their white glove delivery partners, and be there for installations. If DIY, be prepared to hire movers or for multiple trips up the stairs.
Chapter 8: After the Renovation
Your renovated brownstone will need ongoing care to last for years to come.
Create a maintenance schedule:
HVAC servicing (annually)
Gutter cleaning (twice yearly)
Exterior pointing and maintenance (every 5-10 years)
Interior touch-ups as needed
System checks and updates
Keep records:
All warranties (your contractor should provide this)
As-built drawings (your architect should provide this)
Paint colors and materials list (your interior designer should provide this)
Contractor and specialist contact info
Maintenance schedules
Enjoying Your Investment
Now is the time to enjoy your home after a year (or more), and a healthy investment
Use your beautiful kitchen. Enjoy the blend of historic character and modern comfort you've created.
Accept imperfection. No renovation is perfect. Small issues don't matter in the daily joy of living in a home you love.

Final Thoughts
Renovating a brownstone is one of the biggest projects you'll ever undertake. It's costly, time consuming, stressful, and full of decisions.
It's also incredibly rewarding.
You're preserving a piece of Boston's history while creating a home that will serve your family for years, maybe decades. You're not just renovating a building but contributing to the neighborhood character that makes Boston special.
The key to success is:
Careful, thorough planning
Building a team you trust
Setting realistic expectations
Staying flexible when challenges arise
Keeping perspective on what matters
Remembering the home you’ll have at the end of the process
There will be moments when you question your sanity. Unexpected problems will arise, and it will most likely take longer and cost more than you hoped. Thankfully, that is what a contingency fund is for. But when you're sitting in your renovated brownstone, looking up at those restored ceiling medallions in the updated kitchen you created, you'll know it was worth it.
Brownstone ownership is a wild ride, but it's worth every moment.
Ready to Kickstart Your Brownstone Renovation?
If you're planning a brownstone renovation in Boston's South End, Back Bay, Beacon Hill, or anywhere in the Boston area, we'd love to help.
At Nubuor Designs, we have years of experience with brownstone renovations and have guided dozens of clients through the process from initial planning through final installation. We understand the unique challenges of renovating historic buildings, and we know how to create spaces that honor the past while working beautifully for contemporary life.
Contact us to schedule a consultation. Let's talk about your brownstone and how we can help you transform it into the home you've been dreaming of
Related Posts: